

Key Takeaways
Understanding the Damage Before You Start
Not all drywall damage is the same, and choosing the wrong repair method wastes time and materials. Before picking up a tool, take a moment to categorize the damage in front of you:
- Nail pops and dings (under ½ inch): Caused by fasteners working loose or minor impacts. These need minimal preparation.
- Small holes (½ inch to 4 inches): Doorknob strikes or anchored-shelf removal leave this category of damage. A mesh patch or setting-type compound works well here.
- Medium to large holes (4 inches to roughly 6 inches): These require a backing board or a California patch for structural support before applying compound.
Also check the area around the damage. Soft, crumbling, or discolored drywall may indicate a moisture problem - address any water source before patching, or you'll be doing the work twice. If you notice wiring or plumbing behind a hole, stop and consult a licensed professional before proceeding.
What you will need
Tools and Materials You'll Need
Having everything staged before you begin prevents unnecessary interruptions mid-repair. Gather the following:
Putty knife or taping knife (6-inch and 10-inch)
Applies and smooths joint compound across repairs of varying sizes.
Joint compound (all-purpose pre-mixed)
Fills, bonds, and creates a smooth finish coat over patched drywall.
Setting-type compound (powder)
Provides a stronger, faster-setting fill for deep voids and large repairs.
Self-adhesive fiberglass mesh patch
Spans holes up to 4 inches and provides a surface for compound to bond to.
Sandpaper (120-grit and 150-grit)
Smooths dried compound between coats and before priming.
Drywall primer (PVA or drywall-specific)
Seals the patched area to prevent paint from flashing or absorbing unevenly.
Utility knife
Trims loose drywall paper and scores panels for clean cuts.
Drywall screws and screw gun
Re-secures loose panels and anchors backing boards for larger patches.
For large holes, you'll also want a drywall saw and a piece of replacement drywall cut slightly smaller than your opening. Pre-mixed all-purpose joint compound works for finish coats, but setting-type (powder) compound sets faster and is stronger for filling deep voids.
Step-by-Step Repair Instructions
Follow these steps in order, adjusting for the size of your repair. Skipping steps - especially drying time between coats - is the most common reason patches remain visible after painting.
Prepare the Damaged Area
Use a utility knife or putty knife to remove any loose paper facing or crumbled gypsum around the damaged area. For nail pops, drive the existing fastener slightly deeper with a hammer or screw gun, then add a new drywall screw 2 inches above and below it to re-secure the panel to the stud.
Choose and Install the Right Backing (Larger Holes Only)
For holes larger than 4 inches, cut a clean square or rectangle around the damage using a drywall saw. Cut a piece of 1×3 or 1×4 lumber several inches longer than the opening and insert it into the hole, holding it against the inside face of the drywall. Drive drywall screws through the existing wall into the board on each side of the opening to anchor it. This board becomes the backing for your patch piece.
For holes under 4 inches, self-adhesive fiberglass mesh patches eliminate the need for backing - simply center the mesh patch over the hole and press firmly.
Apply the First Coat of Joint Compound
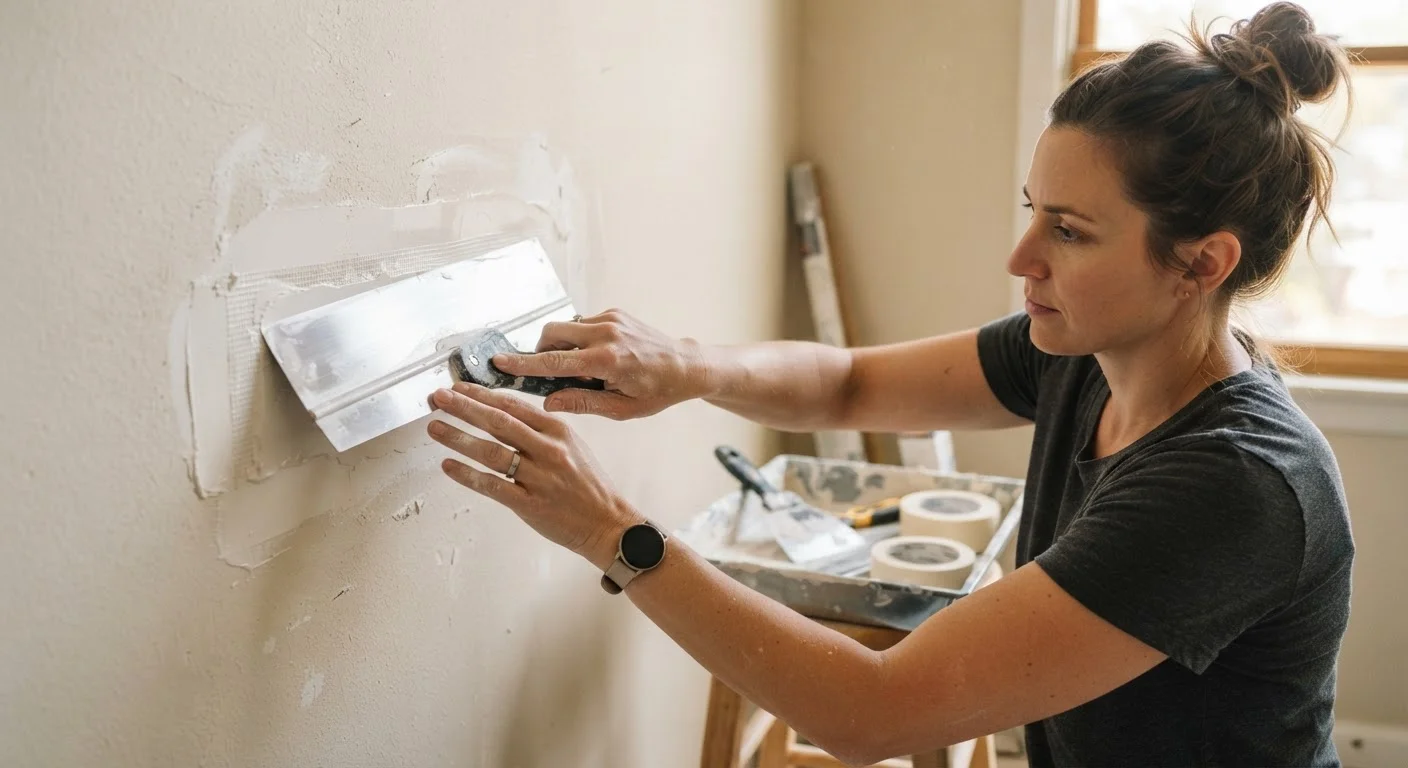
Using a 6-inch putty or taping knife, spread joint compound over the patch, mesh, or nail dimples. For setting-type compound, mix to a peanut-butter consistency and work quickly - it begins hardening within 20-45 minutes depending on the formulation. Apply enough compound to fully embed any mesh and fill the void, but keep the coat as thin and flat as possible.
Sand, Recoat, and Feather
Once the first coat is completely dry, lightly sand it with 120-grit sandpaper to knock down ridges. Wipe away dust with a damp cloth. Apply a second, wider coat of all-purpose compound, feathering the edges 4-6 inches beyond the repair with a 10- or 12-inch finishing knife. This wider, thinner coat blends the patch into the surrounding wall plane. Most repairs require two to three coats total.
After the final coat dries, finish-sand with 150-grit sandpaper using light, circular strokes. The surface should feel smooth and flush with the surrounding wall.
Prime and Inspect Before Painting
Apply drywall primer to the repaired area and let it dry. Inspect the surface under raking light one final time. If any imperfections remain, apply a thin skim coat of compound, allow it to dry, and sand lightly. Once satisfied, proceed with your finish paint.
Finishing and Painting for an Invisible Repair
The secret to a repair that disappears under paint is a proper prime-and-paint sequence. Unprimed joint compound absorbs paint unevenly, creating a dull spot called flashing even when the texture looks perfect.
Prime Before You Paint - Always
Applying finish paint directly over joint compound without a primer coat almost always results in flashing - a dull, flat spot where light reflects differently than the surrounding painted surface. A single coat of drywall or PVA primer takes only minutes to apply and makes the difference between a patch that disappears and one that catches every eye in the room.
Apply a coat of drywall primer or PVA primer to the patched area and allow it to dry fully. If the surrounding wall has a texture - orange peel, knockdown, or skip trowel - practice recreating it on a piece of cardboard first. Light stippling with a damp sponge or a dabbed brush can approximate many common textures without specialty spray equipment.
Once the primer is dry, apply your finish paint in the same sheen as the surrounding wall. In most cases, two coats of finish paint will make the repair indistinguishable from the original surface.