

Key Takeaways
Why Primer Gets Skipped in the First Place
Primer has a reputation problem. To many homeowners, it looks like just another coat of paint - an extra step that adds time and expense to an already involved project. Walk into any hardware store and you'll find cans labeled "paint and primer in one," which reinforces the idea that dedicated priming is optional at best.
The reality is more nuanced. Primer is a bonding agent, a stain blocker, and a surface equalizer - it does jobs that finish paint simply isn't formulated to do. When you skip it, you're not just saving one step; you're removing a structural layer from your paint system. Much like skipping scheduled vehicle maintenance, cutting this corner tends to compound into a bigger, more expensive problem later.
Using a "paint and primer in one" product on bare or heavily stained surfaces.
Why it happens: Combination products are convenient and widely marketed, leading homeowners to assume they handle every situation a standalone primer would.
Priming over a dirty or glossy surface without preparation.
Why it happens: Homeowners often assume primer will adhere to anything, so they skip cleaning and sanding steps to save time.
Applying primer too thin or in a single insufficient coat on porous materials.
Why it happens: There's an instinct to stretch materials to save money, or to rush so the finish coat can go on the same day.
Choosing the wrong primer type for the surface material.
Why it happens: Many homeowners grab whatever primer is on sale without considering whether it's formulated for their specific substrate or stain type.
Painting over primer before it has fully cured.
Why it happens: Dry-to-touch time and full cure time are different, and packaging instructions are often overlooked in the interest of finishing the job quickly.
Surfaces and Situations Where Primer Is Non-Negotiable
There are certain conditions under which skipping primer will almost certainly cause visible, lasting damage to your paint job:
- New drywall: Raw drywall is highly porous and will absorb finish paint unevenly, creating a blotchy, flat appearance called "flashing." A drywall-specific primer seals the surface so paint lays uniformly.
- Stained or discolored surfaces: Water stains, smoke damage, rust bleed-through, and crayon or marker marks will migrate through standard paint. A shellac-based or oil-based stain-blocking primer is the only reliable fix.
- Drastic color changes: Going from a deep red to a soft gray, or vice versa, demands a tinted primer to reduce the number of finish coats needed and ensure true, consistent color.
- Bare wood: Wood grain raises and absorbs paint unpredictably without primer. A wood primer stabilizes the surface, prevents tannin bleed, and gives the finish coat something to grip.
- Glossy or previously painted surfaces: High-sheen paint repels adhesion. Sanding helps, but a bonding primer significantly improves the grip of the new coat.
2-3x
Longer paint life with proper priming
Industry painting guidelines consistently indicate that properly primed surfaces can hold finish paint significantly longer than unprimed ones before requiring repainting.
80%
Of paint failures tied to surface prep
Paint manufacturers and trade associations broadly estimate that the majority of premature paint failures are rooted in inadequate surface preparation, including skipping primer.
Understanding why each situation demands primer helps you make smarter decisions rather than following rules blindly. Think of it the way you would defining your actual needs before making any major purchase - clarity upfront prevents regret later.
Never Skip Primer on New Drywall
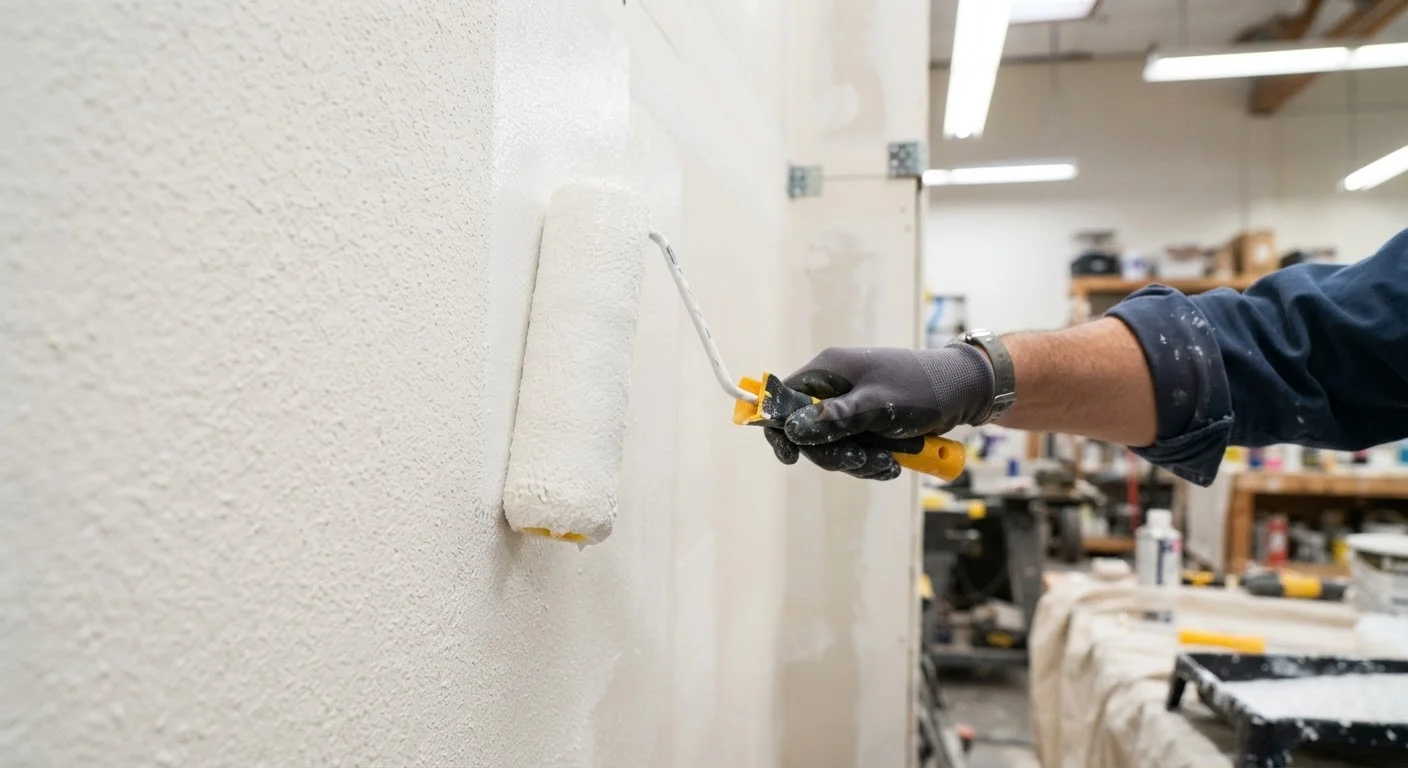
Unpainted drywall paper is extremely absorbent and will cause finish paint to look uneven and dull - a problem called flashing that no amount of additional finish coats will fully correct. A PVA drywall primer is inexpensive and is the only reliable solution. Applying finish paint directly to bare drywall almost guarantees a redo.
Getting Primer Application Right
Choosing to use primer is only half the equation - applying it correctly matters just as much. A thin, rushed primer coat offers limited benefit. Here are the practices that make primer work as intended:
- Clean the surface first. Dust, grease, or mildew will prevent primer from bonding. Wipe surfaces with a damp cloth or appropriate cleaner and allow them to dry fully before priming.
- Choose the right primer type. Water-based (latex) primers work well for most interior walls. Oil-based primers offer superior adhesion and stain blocking for wood, metal, or heavily stained surfaces. Shellac-based primers are the strongest stain blockers but require denatured alcohol for cleanup.
- Apply a full, even coat. Primer should be rolled or brushed on with the same care as finish paint - no thin, translucent streaks. Allow it to dry fully per the manufacturer's recommended dry time before painting.
- Sand lightly after priming on wood. Primer raises the wood grain slightly. A light sand with fine-grit sandpaper after drying creates a smooth base for the finish coat.
- Don't skip the second primer coat when needed. Heavily stained surfaces or very porous materials may require two primer coats before finish paint will perform well.
Taking the time to prime properly creates a foundation that makes the rest of the project go smoother - and keeps it looking good for years longer than a shortcut would allow.