

Key Takeaways
Grout Cracking
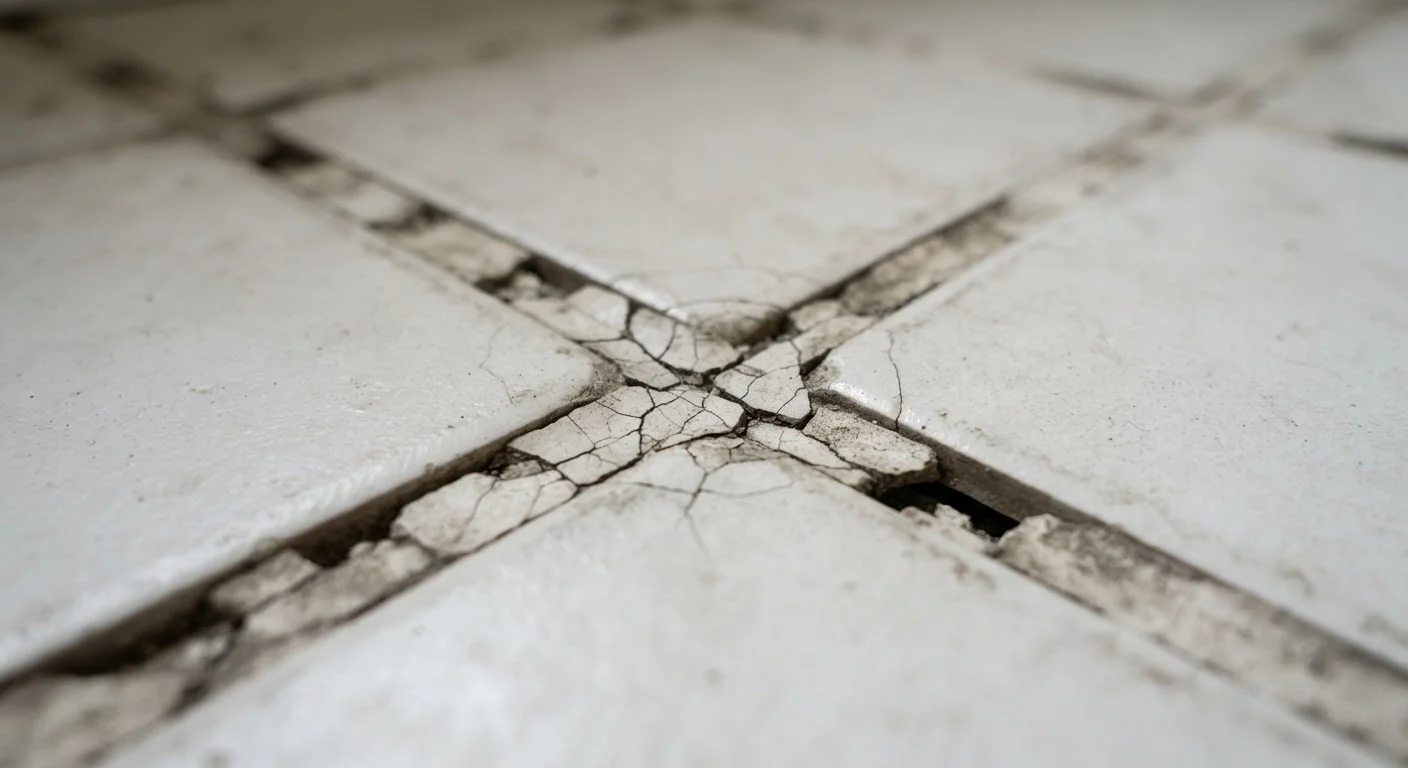
Grout cracking refers to the fractures, gaps, and breaks that develop in the material used to fill the joints between tiles. While it can look like a minor cosmetic flaw, cracked grout often signals underlying problems with how a tile installation was prepared or executed. Understanding the cause helps you decide whether a simple repair is enough or whether the underlying issue needs to be addressed first.
Grout is a cementitious filler - it bonds to tile edges but has limited flexibility. When the substrate beneath moves even slightly, grout joints are typically the first place stress becomes visible.
The Real Reason Grout Cracks
Grout is not designed to flex. It's a rigid, cement-based material that fills the gaps between tiles and locks everything into a stable surface. That rigidity is also its vulnerability - any movement in the structure beneath it transfers directly to the grout joint, and cracks are the result.
The most common culprits fall into three categories: substrate movement, installation errors, and improper grout application. Identifying which category applies to your situation determines what kind of repair - if any - will actually hold.
Grout vs. Caulk: Know the Difference
Grout and caulk are not interchangeable. Grout is rigid and suited for flat field joints between tiles on the same plane. Flexible siliconized caulk is required wherever two surfaces meet at an angle - floor-to-wall, wall-to-tub, and inside corners. Using grout in these locations virtually guarantees cracking over time, regardless of installation quality.
Substrate Movement: When the Floor Talks Back
The substrate is everything underneath your tile - the subfloor, concrete slab, or backer board. If it moves, shifts, or flexes, the tile system above it will eventually show the stress. Common substrate-related causes include:
- Subfloor deflection: Wood subfloors that flex under foot traffic exceed the tolerance of rigid tile installations. Industry guidelines specify maximum allowable deflection - if your floor bounces, your grout will crack.
- Concrete shrinkage: Freshly poured concrete continues to cure and contract for months. Tiling too soon traps that movement beneath the tile layer.
- Settling and seasonal movement: Homes shift with temperature and humidity changes throughout the year. Without proper expansion joints designed into the installation, that movement concentrates in grout lines.
A single crack running across multiple tiles in a straight line often traces back to a control joint or crack in the concrete below - the crack has simply reflected upward through the tile layer.
Installation Errors That Show Up Later
Many grout cracks that appear months or years after installation were set in motion on day one. The most common installation mistakes include:
Check for Hollow Tiles Before You Repair
Tap each tile in the affected area with your knuckle or a coin before starting any grout repair. A hollow sound indicates the tile has separated from the substrate - regrouting without fixing this first is a temporary solution at best. Hollow tiles in wet areas like showers should be addressed promptly to prevent water infiltration.
- Insufficient thinset coverage: Tiles need full, consistent mortar contact on the back. Voids beneath a tile create flex points - the tile rocks slightly underfoot and cracks the grout around it.
- Grouting too soon: Thinset mortar needs adequate time to cure before grout is applied. Grouting too early traps moisture and weakens the bond.
- Missing expansion joints: Large tiled areas require periodic relief joints filled with flexible caulk, not grout. Without them, thermal expansion has nowhere to go except into the grout lines.
- Using grout in change-of-plane joints: Where a floor meets a wall, or where two walls meet, rigid grout will always fail eventually. These joints require siliconized caulk matched to the grout color.
Grout Mixing and Application Problems
Even with a solid substrate and clean installation, grout itself can fail if it's mixed or applied incorrectly.
Adding too much water to grout weakens the final product - a common shortcut that leads to a powdery, brittle result that cracks under normal use. Similarly, grouting over tiles that haven't been properly cleaned of thinset haze, or applying grout in very hot or cold conditions, can compromise curing and lead to early cracking.
Sanded versus unsanded grout also matters. Sanded grout is designed for wider joints; unsanded grout for narrow ones. Using the wrong type for a joint width creates a weak joint prone to cracking or crumbling.
3/8"
Maximum deflection allowed under tile per 10 feet of span
The Tile Council of North America (TCNA) specifies L/360 deflection limits for substrates supporting ceramic tile installations.
28 days
Cure time for new concrete before tiling
Industry guidelines generally recommend allowing freshly poured concrete slabs to cure for approximately 28 days before tile installation to minimize shrinkage-related cracking.
80-95%
Thinset contact coverage required for wet areas
The TCNA recommends 95% mortar coverage for tiles in wet or exterior applications to prevent flex-related bond failure.
What To Do When You Find Cracked Grout
Before reaching for the caulk gun or a grout repair kit, do a quick diagnostic. Tap the surrounding tiles with a knuckle or the handle of a screwdriver. A solid sound means the tile is still bonded to the substrate. A hollow or drum-like sound means the tile has de-bonded - a condition that requires more than grout repair.
If the tiles are solid and cracking is limited to a few joints, removing the damaged grout with an oscillating tool or grout saw and applying fresh grout is a reasonable DIY repair. For corner and perimeter joints, replace grout with a flexible, color-matched siliconized caulk - this is not optional if you want the repair to last.
If cracking is widespread, if multiple tiles are hollow, or if you can see visible floor deflection, the installation may need professional evaluation. Repeated repairs without fixing the root cause are a losing investment of time and materials.