

Key Takeaways
Summary
22 items · 45-90 minutes
Why Move-In Documentation Matters
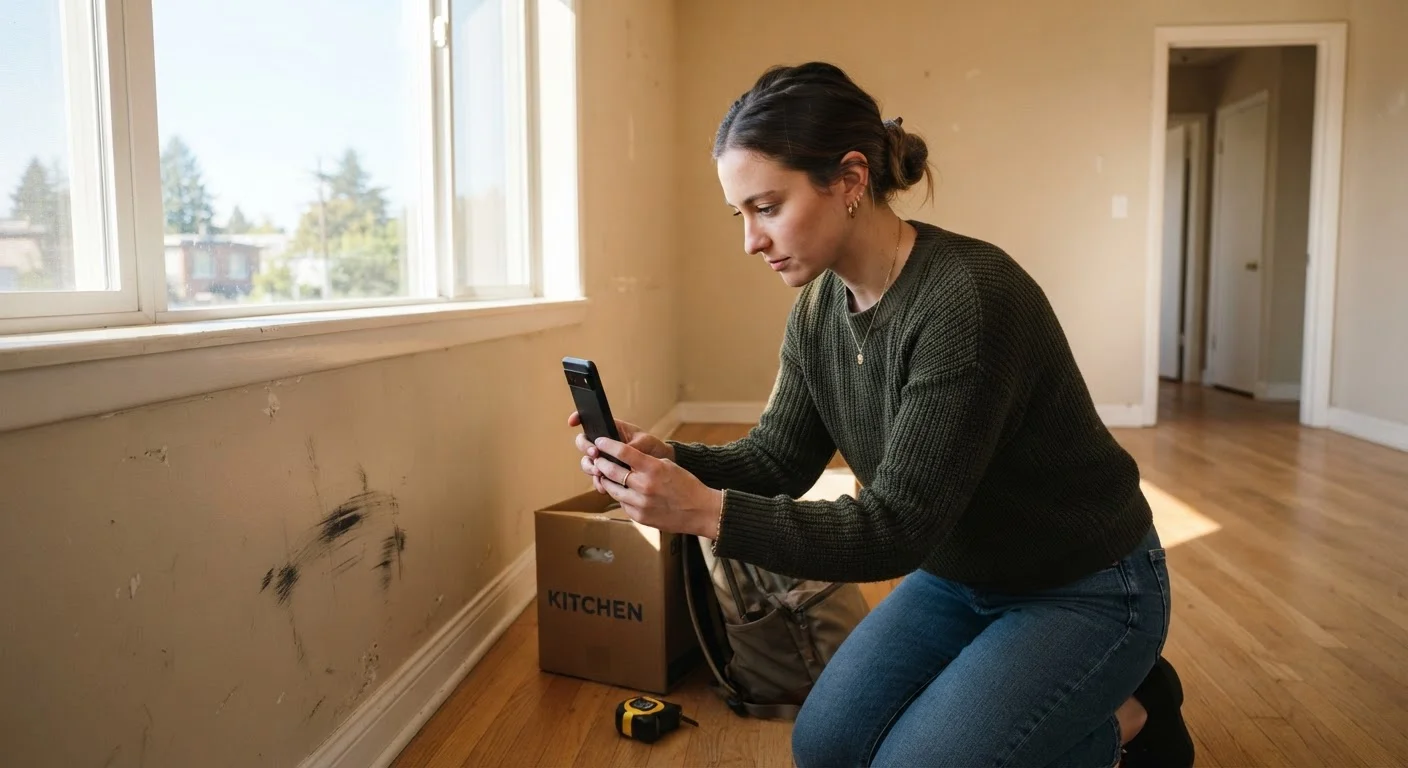
Security deposit disputes are among the most common conflicts between renters and landlords. Without documentation of a unit's condition at move-in, it becomes a he-said-she-said situation - and renters frequently lose. A thorough record created on day one shifts that burden of proof decisively in your favor.
Most states require landlords to return security deposits within a set window - commonly 14 to 30 days after move-out - along with an itemized list of any deductions. However, if a landlord claims damage that predates your tenancy, you need contemporaneous evidence to challenge it. That evidence has to be created before you unpack a single box.
To understand what landlords are and are not legally permitted to keep, see our detailed guide on security deposit deductions. And if you haven't signed a lease yet, review what to know before signing first - your rights begin before you get the keys.
Before You Begin
Walls, Floors, and Ceilings
Kitchen and Bathrooms
Utilities and Systems
Exterior and Common Areas
Final Steps
Tools You'll Need Before You Start
Arriving prepared saves time and ensures you don't miss anything. Gather your equipment before entering the unit so you can work through the space systematically.
Smartphone with camera
Capture timestamped photos and video walkthroughs of every room and area of the unit.
Move-in inspection checklist
A structured form to record room-by-room condition details that both you and the landlord can sign.
Cloud storage account
Store and back up all photos and videos with verifiable timestamps that you control independently.
Tape measure
Measure and document any significant damage dimensions for precise reporting on the inspection form.
Flashlight or phone torch
Illuminate dark corners, inside cabinets, and under sinks where damage or mold may not be immediately visible.
How to Organize and Submit Your Documentation
Capturing evidence is only half the job. How you store and share it determines whether it actually protects you.
Organize by room. Create clearly labeled folders - "Kitchen," "Bathroom 1," "Living Room" - so you can quickly retrieve specific images if a dispute arises later.
Use cloud storage. Upload everything to a service where files carry a verified timestamp. Email or messaging apps that show sent dates can serve as secondary confirmation.
Submit to your landlord in writing. Email your landlord a summary of any pre-existing damage you documented, referencing the attached photos or the completed inspection report. This creates a timestamped record that both parties received the information.
Keep copies independent of the landlord. Do not rely solely on a form the landlord holds. Retain your own signed copy of any inspection checklist and your full photo/video archive.
Don't Wait Until After You Move In
Many renters photograph damage only after noticing it days or weeks into their tenancy. Courts and arbitrators typically give more weight to documentation created before or on move-in day. If you discover damage after moving in, document and report it in writing to your landlord immediately - the sooner the better. Delayed reporting weakens your position significantly.
This checklist is one piece of the broader rental process. For a comprehensive walkthrough from apartment search through move-out, see Navigating the Full Rental Process. You should also be aware that move-in costs often extend beyond the deposit itself - hidden renting costs like utility deposits and required renters insurance can add up quickly.
This article provides general informational guidance for renters and does not constitute legal advice. Tenant-landlord laws vary significantly by state and locality. Consult a qualified attorney or your local tenant rights organization for guidance specific to your situation.