

Home & Garden

Reading a Room Before You Renovate: A Pre-Project Planning Checklist

Share
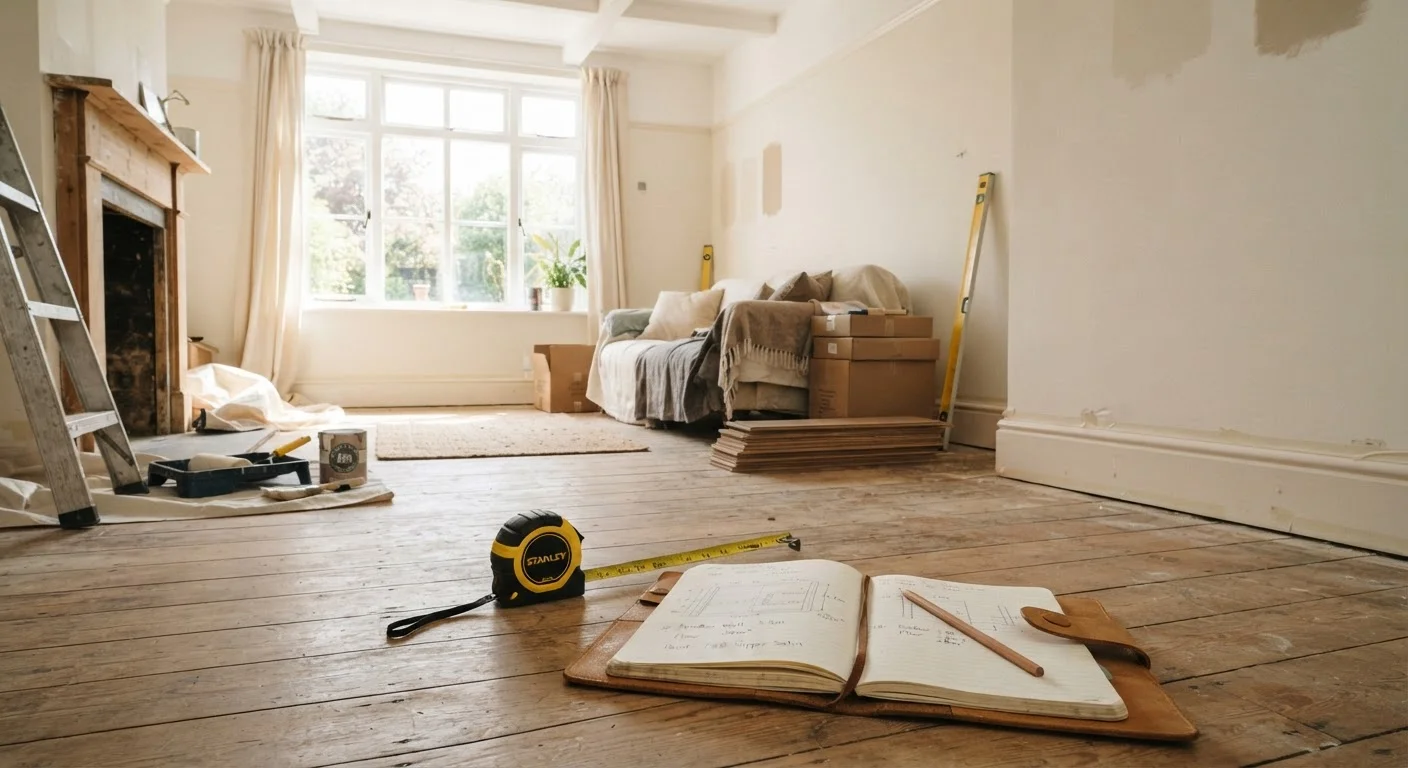
A partially renovated living room with measuring tape, notebook, and pencil on the floor.

Key Takeaways

Measuring your space accurately before buying materials prevents costly over- or under-ordering.
Identifying existing home systems — electrical, plumbing, HVAC — in the affected area can prevent dangerous surprises.
Clarifying your renovation goals upfront helps you set a realistic scope and avoid scope creep.
Permit requirements vary by jurisdiction; verify local rules before any structural or systems work begins.
A written budget with a contingency buffer of 15–20% reduces financial stress when unexpected issues arise.
45–90 min

Summary

22 items · 45–90 minutes

Why Pre-Project Assessment Matters

Most renovation regrets trace back to a single skipped step: reading the room before work begins. Whether you're refreshing a bathroom, opening up a kitchen, or finishing a basement, the decisions you make in the planning phase shape everything that follows — from your budget to your timeline to your safety.

This checklist walks you through the key areas to evaluate before you commit to a scope of work, hire anyone, or purchase a single material. It applies equally to DIY projects and work you plan to hand off to a professional. Think of it as your pre-flight check.

For projects that touch home systems like plumbing, electrical, or HVAC, the stakes of skipping this step are even higher. Knowing what's behind your walls before work begins isn't just smart — in many cases, it's required by code.

Space Measurement & Conditions

Measure the room's length, width, and ceiling height, and sketch a rough floor plan with accurate dimensions. Must
Note any out-of-square corners, uneven floors, or sloped ceilings that could affect material quantities or installation. Must
Identify the location of doors, windows, and fixed openings, and measure their rough openings if replacements are planned. Must
Check for visible signs of moisture, mold, water staining, or settling cracks that must be addressed before cosmetic work begins. Must
Note which direction the room faces and observe natural light patterns at different times of day if lighting or paint color decisions are involved. Should

Existing Systems Inventory

Locate all electrical outlets, switches, junction boxes, and panels in or adjacent to the room and note their approximate positions on your sketch. Must
Identify any plumbing supply lines or drain lines that run through the space, even if you don't plan to touch them. Must
Note the location of HVAC supply and return vents, ductwork, or radiators that may need to be relocated or protected. Must
Determine whether any walls you plan to modify are load-bearing — consult a structural engineer or licensed contractor if you're unsure. Must
Check for the presence of older materials such as asbestos-containing flooring or insulation, or lead paint, in homes built before the 1980s. Should

Goals & Scope Clarity

Write down the primary outcome you want from this renovation in one or two sentences — be specific about function, not just aesthetics. Must
Identify which elements are non-negotiable versus which are flexible, so trade-offs can be made without compromising priorities. Must
List every task you initially imagine the project involves, then mark each as DIY-eligible, contractor-required, or undecided. Should
Consider how the renovated room will connect visually and functionally to adjacent spaces, and flag any transition details to address. Nice to have

Budget & Permits

Establish a working budget range — including materials, labor, and a contingency of at least 15–20% for unexpected findings. Must
Research whether your project type requires a permit in your municipality, and contact your local building department to confirm before work starts. Must
Determine whether your project could affect your homeowner's insurance policy or require notification of your insurer. Should
If you're planning to sell, research which improvements are typically associated with value retention in your local market before committing to high-cost upgrades. Nice to have

Logistics & Disruption Planning

Identify how long the affected room or home system will be out of use and plan accordingly — especially for kitchens, bathrooms, or primary living spaces. Must
Plan for material storage, waste removal, and contractor access before work begins to avoid delays once the project starts. Should
Confirm lead times on any custom or special-order materials so they don't create a bottleneck mid-project. Should

Tools You'll Want on Hand

Running through this checklist doesn't require specialized equipment, but a few basic tools will make your assessment faster and more reliable.

Required

Tape Measure (25 ft)

Essential for accurately measuring room dimensions, door and window openings, and wall lengths.

Required

Graph Paper or Digital Floor Plan App

Used to sketch the room to scale, making it easier to plan layout changes and share dimensions with contractors.

Required

Stud Finder

Helps locate wall studs and can indicate the presence of wiring or pipes behind drywall before any cutting begins.

Required

Flashlight or Work Light

Useful for inspecting crawl spaces, under sinks, inside closets, and other low-light areas for moisture, pests, or system access points.

Required

Notebook or Digital Project Tracker

Keeps your observations, measurements, questions, and vendor notes organized in one place throughout the planning process.

Optional

Moisture Meter

Provides a more reliable reading of moisture levels in walls or floors than visual inspection alone — especially useful in bathrooms, basements, and kitchens.

Once you have your measurements, a material estimate, and a clearer picture of what the room contains, you're in a much stronger position — whether you're doing the work yourself or hiring a contractor. Don't skip the questions that lead to honest answers; our guide on talking to contractors about home systems can help you evaluate proposals more critically.

After the Checklist: What Comes Next

Completing this assessment won't hand you a finished renovation plan, but it will give you the raw material to build one. You'll know your room's dimensions, its quirks, its system connections, and your own priorities — all of which are prerequisites for accurate quotes, realistic timelines, and sound decisions.

If your project involves tile, use your measurements alongside our guide to measuring and ordering tile without ending up short so you don't over- or under-order. If you want to understand what's running through your walls before anyone cuts into them, a room-by-room look at residential plumbing is a useful reference.

Don't Skip the Permit Check

Many homeowners assume small renovations don't require permits — but electrical panel upgrades, plumbing reroutes, structural wall removal, and even some window replacements commonly do. Unpermitted work can complicate home sales, void insurance claims, and create liability if something goes wrong. Always confirm requirements with your local building department before work begins.

Renovation projects are iterative. Every question this checklist surfaces is one fewer surprise during construction — and surprises during construction are almost always more expensive than surprises during planning.

Home & Garden Editorial Team is the collective byline for our editorial team and contributor network. Articles published under this byline or an editorial pen name are researched, written, and reviewed according to our editorial standards for clarity, consistency, and independence before publication.

View all articles by Home & Garden Editorial Team →
Disclaimer: The content on this site is provided for informational purposes only and should not be considered a substitute for professional advice. While we strive to provide accurate and up-to-date information, we make no guarantees regarding its completeness or accuracy. Always consult a qualified professional for advice specific to your circumstances before making any decisions.