

Key Takeaways
Why the Subfloor Is Where Every Project Begins
Every flooring project-whether you're replacing carpet with hardwood or tiling a bathroom-lives or dies on the condition of the subfloor beneath it. The subfloor is the structural layer fastened to your home's floor joists, typically made of plywood or oriented strand board (OSB). Its job is to provide a stable, flat platform for whatever finish material goes on top.
Before ordering a single plank or tile, inspect the subfloor carefully. Look for soft spots, which indicate rot or water damage. Check for squeaks, which usually mean fasteners have loosened or the subfloor has separated from a joist. Use a long straightedge or level to identify humps and dips-most flooring manufacturers specify that the subfloor must be flat within 3/16 of an inch over 10 feet. Anything beyond that needs correction first.
Common repairs include re-screwing loose panels, sistering damaged joists, applying floor-leveling compound to low spots, and sanding down high spots. If you discover significant moisture damage or structural concerns beneath the floor, those issues touch your home's core systems-consult our guide to essential home systems before proceeding.
Before any moisture-sensitive flooring goes down over concrete, conduct a calcium chloride test or a relative humidity probe test per ASTM F1869 or F2170 standards. Never skip this step-adhesive and flooring warranties commonly depend on documented moisture readings.
Moisture vapor from concrete slabs is the leading cause of adhesive bond failure and floor cupping in below-grade and slab-on-grade installations.
Run new flooring perpendicular to floor joists whenever possible. This orientation distributes load more evenly and reduces the chance of long-term deflection or squeaking.
Planks installed parallel to joists can bridge the gap between supports and flex underfoot, stressing fasteners and adhesive bonds over time.
Choosing the Right Flooring Material
Material selection involves balancing four factors: moisture exposure, foot traffic, subfloor compatibility, and budget. Here is a practical breakdown of the most common options:
- Solid hardwood - Durable and refinishable multiple times, but sensitive to moisture. Not suitable for below-grade installations (basements) or directly over radiant heat without manufacturer guidance.
- Engineered hardwood - A plywood core with a real wood veneer top layer. More dimensionally stable than solid wood, appropriate for most grade levels, and compatible with many radiant heat systems.
- Luxury vinyl plank (LVP) and tile (LVT) - Fully waterproof core options are ideal for kitchens, bathrooms, and basements. Highly resilient underfoot and one of the more forgiving materials for imperfect subfloors.
- Ceramic and porcelain tile - Extremely durable and moisture-resistant, but require a very rigid, deflection-free subfloor. Many installations over wood subfloors require an additional cement backer board layer.
- Laminate - An economical floating-floor option with a photographic wood or stone layer protected by a wear coating. Sensitive to standing water at seams; not ideal in high-moisture rooms.
- Carpet - Still a practical choice for bedrooms and living areas where comfort and sound absorption matter. Hides minor subfloor imperfections better than hard surfaces.
3/16"
Maximum allowable subfloor flatness deviation
Most major flooring manufacturers specify no more than 3/16 inch variation over 10 feet before installation can proceed.
48-72 hrs
Recommended flooring acclimation time
Industry guidelines commonly call for flooring materials to acclimate in the installation environment before being fastened or adhered.
35-55%
Ideal indoor relative humidity for hardwood floors
The National Wood Flooring Association recommends maintaining indoor humidity within this range to minimize wood movement year-round.
If you're evaluating flooring as part of a broader home purchase, understanding what to look for during a home inspection can help you assess existing floors before closing.
Understanding Installation Methods
The installation method must match both the flooring material and the subfloor type. There are three primary approaches:
- Nail-down (or staple-down)
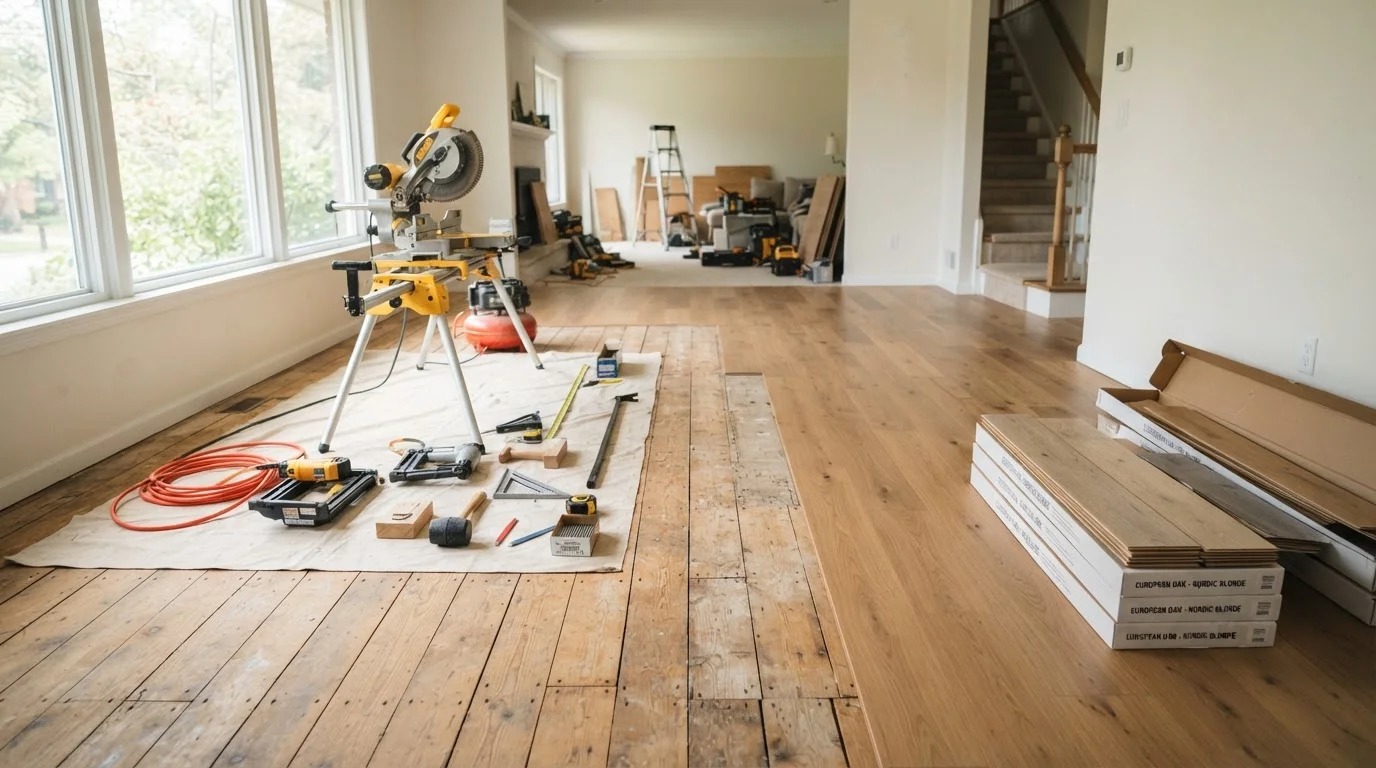
- Used almost exclusively for solid hardwood over plywood subfloors. A pneumatic flooring nailer drives cleats through the tongue of each plank at an angle. Requires a minimum subfloor thickness-typically 3/4-inch plywood.
- Glue-down
- Common for engineered hardwood and LVT on concrete slabs. Adhesive is spread in sections and planks or tiles are pressed firmly into it. Requires careful moisture testing of the concrete beforehand-high moisture vapor emission can cause adhesive failure and floor buckling.
- Floating
- Planks or tiles interlock and are not fastened to the subfloor. Used for laminate, many LVP products, and some engineered hardwood. An underlayment pad is placed between the subfloor and the flooring to cushion, dampen sound, and manage minor moisture.
Tile installation follows its own logic: thinset mortar bonds tile to backer board or directly to concrete. Grout lines must be planned carefully, and large-format tiles require a nearly perfect subfloor to prevent lippage (uneven edges between adjacent tiles).
Regardless of method, always acclimate your flooring material in the room where it will be installed-typically 48 to 72 hours-so it adjusts to local temperature and humidity before installation begins.
When to DIY and When to Hire a Pro
Floating floor systems-laminate and most LVP-are among the most DIY-friendly projects in home improvement. The tools required are modest, the learning curve is manageable, and mistakes are generally correctable. Nail-down hardwood and large-format tile installations require more precision and specialized equipment, making professional installation worth considering.
Certain situations clearly call for a licensed contractor:
- Subfloor repairs that involve cutting and sistering joists (structural work that may require permits in many jurisdictions)
- Any flooring project over a concrete slab that tests positive for excessive moisture vapor
- Tile work in wet areas like shower floors, where waterproofing membranes must be correctly installed
- Radiant heat systems beneath flooring-improper installation can damage both the heating element and the floor above
When interviewing flooring contractors, ask for references from similar projects, confirm they carry general liability and workers' compensation insurance, and request a written scope of work before signing anything. Our resource on talking to contractors and asking the right questions applies directly to flooring pros as well.
Structural Subfloor Work May Require Permits
Cutting floor joists or making significant structural changes beneath a floor can require a building permit in many jurisdictions. Always check with your local building department before beginning any work that alters the structural framing beneath your floors. Unpermitted structural work can complicate home sales and may create safety and insurance issues.
Long-Term Flooring Maintenance
Maintenance requirements vary by material, but several principles apply broadly:
- Control moisture at entry points. Use mats at exterior doors, wipe up spills immediately, and maintain consistent indoor humidity (generally 35-55% relative humidity) to prevent hardwood from expanding or contracting excessively.
- Use appropriate cleaning methods. Steam mops can damage hardwood and some LVP products. Follow the manufacturer's recommended cleaning approach for your specific floor.
- Protect against abrasion. Felt pads under furniture legs, area rugs in high-traffic zones, and a no-shoes policy can dramatically extend a floor's finish life.
- Refinish hardwood before it wears through. Solid hardwood can typically be sanded and refinished several times over its lifetime. Waiting until the finish is completely gone risks sanding into the wood itself, reducing future refinishing opportunities.
- Address damage promptly. A single cracked tile or a small section of cupped hardwood is far cheaper to repair than a floor that has been left to deteriorate season after season.
If your home has underfloor plumbing-common in bathrooms and kitchens-a slow leak can silently damage your subfloor long before you notice surface changes. Staying familiar with your home's plumbing layout, as detailed in our room-by-room plumbing guide, helps you catch those problems early.