

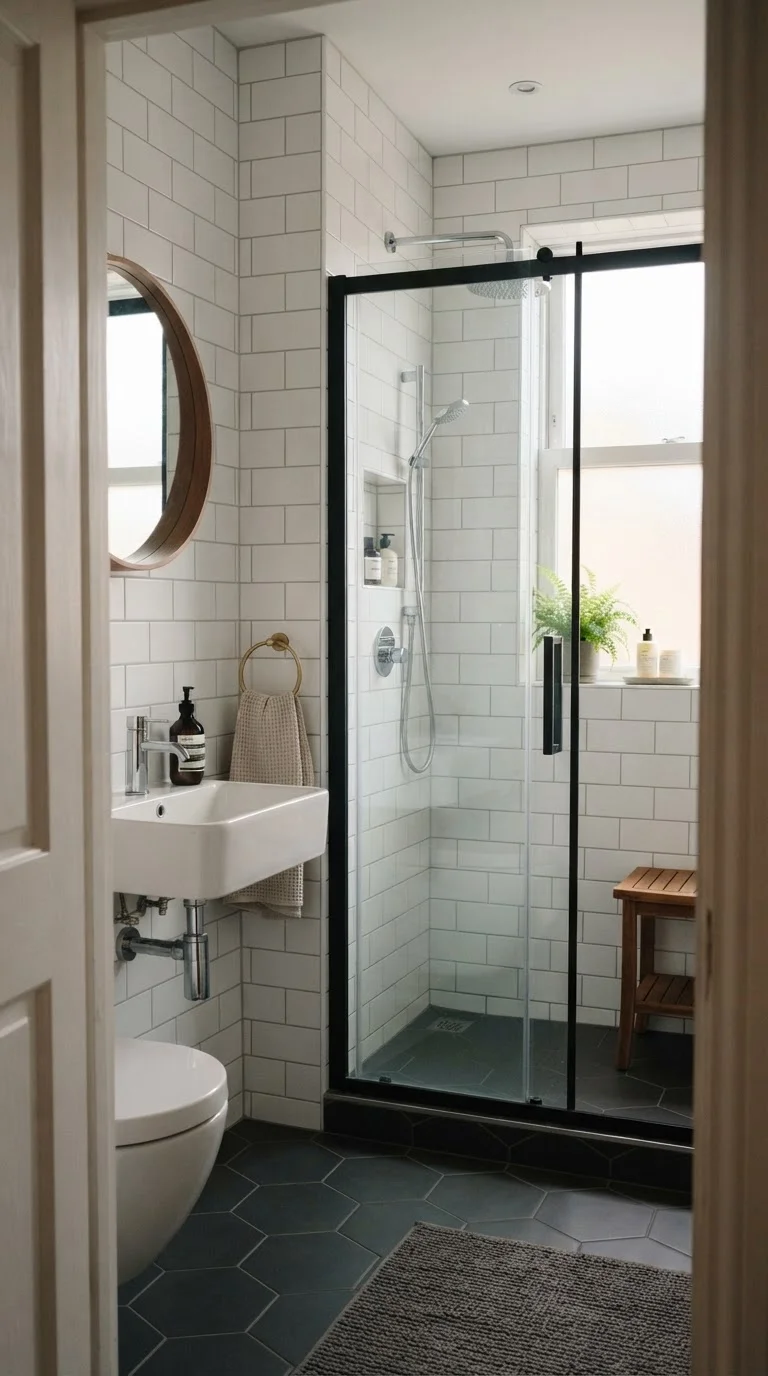
Key Takeaways
Why Small Bathrooms Resist Easy Solutions
A 5×8 bathroom - long the standard builder footprint - sounds manageable until you start subtracting. Subtract the toilet clearance zone. Subtract the door swing. Subtract the vanity depth. What remains is often less than the plan looked like on paper.
This is where homeowners frequently hit a wall: inspiration images rarely show the drain stack in the corner, the load-bearing partition behind the tub, or the three-inch vent pipe hiding inside the only wall that could logically hold a recessed cabinet. Real layouts live inside real constraints.
The good news is that experienced designers work within these constraints routinely. The strategies below reflect how they approach tight footprints - not by wishing the plumbing were somewhere else, but by making deliberate choices about what to prioritize. Before diving in, it helps to understand what's actually behind your bathroom walls, since those hidden systems will shape every decision you make.
Map your existing rough-in locations before planning anything else
The drain rough-in - the point where your toilet, tub, or shower drain exits through the subfloor - is the most expensive single element to relocate in a bathroom renovation. Moving a drain line typically means cutting into the subfloor, rerouting pipe to maintain correct slope, and in some cases opening the ceiling of the room below. Labor and material costs add up quickly.
Before sketching any new layout, locate and measure all existing rough-ins: the toilet flange center (usually 12 inches from the finished wall, though older homes may be 10 or 14), the tub or shower drain, and the supply line stubs. A layout that keeps fixtures near their current drain locations will almost always cost meaningfully less than one that moves them - and is far more likely to stay on budget.
Working around existing drain locations is the single most reliable way to control renovation costs.
Understand code clearances as fixed design parameters
Building codes (which vary by jurisdiction but generally follow the International Residential Code as a baseline) set minimum clearances that aren't negotiable. Common requirements include at least 15 inches from the toilet centerline to any side wall or obstruction, a minimum 21-inch clearance in front of the toilet, and similar approach zones for sinks and shower entries.
These numbers aren't suggestions - they affect whether a permit is issued and whether work passes inspection. Treat them as fixed constraints from the start rather than discovering them mid-project. Your local building department can clarify which code edition applies in your municipality and whether any local amendments are in effect.
Code clearances are non-negotiable design parameters - build your layout around them from day one.
Resolve the door swing problem first
In a tight bathroom, a standard 28- or 30-inch inswing door can consume a disproportionate amount of the usable floor area. Designers typically address this in one of three ways: switching to a pocket door (which slides into the wall cavity), using a barn-style sliding door on the exterior face of the wall, or converting to an outswing door if hallway space allows.
Each option has trade-offs. Pocket doors require a clear wall cavity - no plumbing, electrical panels, or switches in the path - and are more complex to repair if the hardware fails. Barn doors don't seal as tightly and require clear wall space beside the opening. Outswing doors work well but must clear any furniture or fixtures on the hallway side. Resolving the door situation early prevents it from undermining every other layout decision.
Switching to a pocket or sliding door can reclaim several square feet of floor area instantly.
Consolidate the wet zone to simplify plumbing and waterproofing
In many small bathrooms, grouping the shower (or tub) and toilet along the same wall - ideally the wall that contains the drain stack - simplifies the plumbing run, reduces the length of drain lines that need slope, and concentrates waterproofing to one zone. This approach also tends to leave the opposite wall available for a vanity with storage, keeping the floor more open.
Wet-zone consolidation doesn't always mean moving fixtures dramatically. Sometimes it's a matter of swapping a tub for a 36×36-inch or 36×48-inch shower, which can fit into a corner more efficiently and leave more floor area for circulation. A licensed plumber can evaluate whether your existing stack location supports this configuration without expensive rerouting.
Grouping wet fixtures along one wall simplifies plumbing and creates a cleaner, more open layout.
Use wall-hung or compact fixtures to recover floor area
Wall-mounted toilets and floating vanities keep the floor plane visually and functionally clear, which matters in a space where every square foot of circulation counts. A wall-hung toilet requires a carrier frame installed inside the wall - typically adding 4 to 6 inches of wall depth - but the exposed floor area beneath it makes cleaning easier and the room feel less crowded.
Compact elongated toilets (some measuring as little as 26 to 27 inches from rough-in to front edge, compared to the standard 30 inches) are another option that doesn't require wall modification. Similarly, a 18- or 21-inch-deep wall-hung vanity can free up meaningful floor space compared to a standard 21-inch floor-mounted cabinet, without sacrificing counter area entirely.
Wall-hung fixtures recover visible floor space and make a small bathroom feel less enclosed.
Plan ventilation before finalizing any wall or ceiling changes
Bathrooms are required by code in most jurisdictions to have either a window that opens or a mechanical exhaust fan vented to the exterior - not simply to an attic or crawl space. In a small bathroom, where moisture problems are amplified by limited air volume, ventilation placement matters practically as well as legally.
If you're moving walls or raising a ceiling, confirm that the vent path remains viable before the framing is closed. Exhaust fans need a duct run to an exterior termination point, and longer or more convoluted runs reduce effective airflow. A fan rated in CFM (cubic feet per minute) appropriate to the room size - a common rule of thumb is one CFM per square foot of floor area - helps ensure the system actually manages humidity. Verify the specific requirement with your local code official.
Ventilation must be planned before walls close - duct routing and fan capacity affect both code compliance and moisture control.
Putting It All Together
None of these strategies works in isolation. A good small-bathroom layout is the result of weighing several constraints simultaneously - plumbing location, door clearance, ventilation path, code minimums - and finding the combination that delivers the most usable, comfortable space within those limits.
Get a plumber's eye on the plan early
Before finalizing any layout that changes fixture positions, have a licensed plumber review the plan and inspect your existing drain-waste-vent configuration. They can identify whether the drain slope is achievable, whether the vent stack can serve new fixture locations, and what permits will be required. This early check often prevents expensive course corrections later.
If you're still in the early thinking stage, the pre-project planning checklist covers how to assess your space and set a realistic scope before any work begins. And once layout is resolved, tile planning becomes the next precision task - calculating tile quantities accurately in irregular, small rooms matters more than most homeowners expect.
Small bathrooms reward disciplined planning. Measure carefully, consult a licensed professional for plumbing or structural changes, verify local permit requirements, and resist the temptation to rush into decisions that are difficult or expensive to undo.