

Key Takeaways
Start here
Why Compost? Understanding the Benefits
Next
What to Add (and What to Leave Out)
Then
Setting Up Your Compost System
Keep going
Managing Your Pile for Faster Results
Almost there
How to Tell When Compost Is Ready
Put it to use
Putting Finished Compost to Work
Why Compost? Understanding the Benefits
Composting is one of the highest-return habits a homeowner can develop. It converts material that would otherwise go to a landfill - vegetable peels, coffee grounds, dry leaves - into a dark, crumbly soil amendment that feeds plants, improves drainage, and supports the microbial life that makes soil productive.
Finished compost does several things that synthetic fertilizers cannot. It improves soil structure in both sandy and clay-heavy soils, helps retain moisture during dry periods, and slowly releases nutrients in a form plants can absorb over time. If you're growing food in raised beds, see our guide to raised bed gardening for how compost fits into soil preparation. It also reduces the need for purchased inputs and closes a small but meaningful loop in your household's resource cycle.
Greens
Nitrogen-rich compost materials like vegetable scraps, fresh grass clippings, and coffee grounds that fuel microbial activity and speed breakdown.
Browns
Carbon-rich materials like dry leaves, cardboard, and paper that provide structure and energy for decomposing microbes.
Aerobic decomposition
Breakdown of organic matter by oxygen-dependent microbes - the process responsible for fast, odor-free composting when a pile is turned regularly.
Carbon-to-nitrogen ratio
The proportion of carbon-rich browns to nitrogen-rich greens in your pile; roughly 2-3 parts browns to 1 part greens by volume is a practical target.
Curing
The final rest period for nearly finished compost - typically two to four weeks without new additions - that allows the pile to stabilize before use.
Vermicomposting
Composting using worms (usually red wigglers) to break down food scraps into nutrient-rich castings, well suited for small spaces or indoor use.
What to Add (and What to Leave Out)
Every compost pile needs a balance of two categories of material: greens (nitrogen-rich) and browns (carbon-rich). Aim for roughly two to three parts browns for every one part greens by volume.
Greens to add
- Raw fruit and vegetable scraps
- Coffee grounds and paper filters
- Tea bags (remove staples)
- Fresh grass clippings
- Plant trimmings that aren't diseased
Browns to add
- Dry leaves (shredded speeds breakdown)
- Cardboard torn into small pieces
- Paper bags, newspaper, paper towels
- Wood chips or sawdust from untreated wood
- Straw
What to keep out
- Meat, fish, and bones
- Dairy products and eggs
- Oily or heavily cooked food
- Diseased or pest-infested plant material
- Pet waste
- Invasive weeds that have gone to seed
Avoid These Materials to Prevent Problems
Meat, dairy, cooked foods, and pet waste can attract rodents and create persistent odors in a home compost pile. Diseased plant material and weeds that have gone to seed can spread problems back into your garden when you apply finished compost. When in doubt, leave it out - the pile works best with raw plant-based inputs.
Setting Up Your Compost System
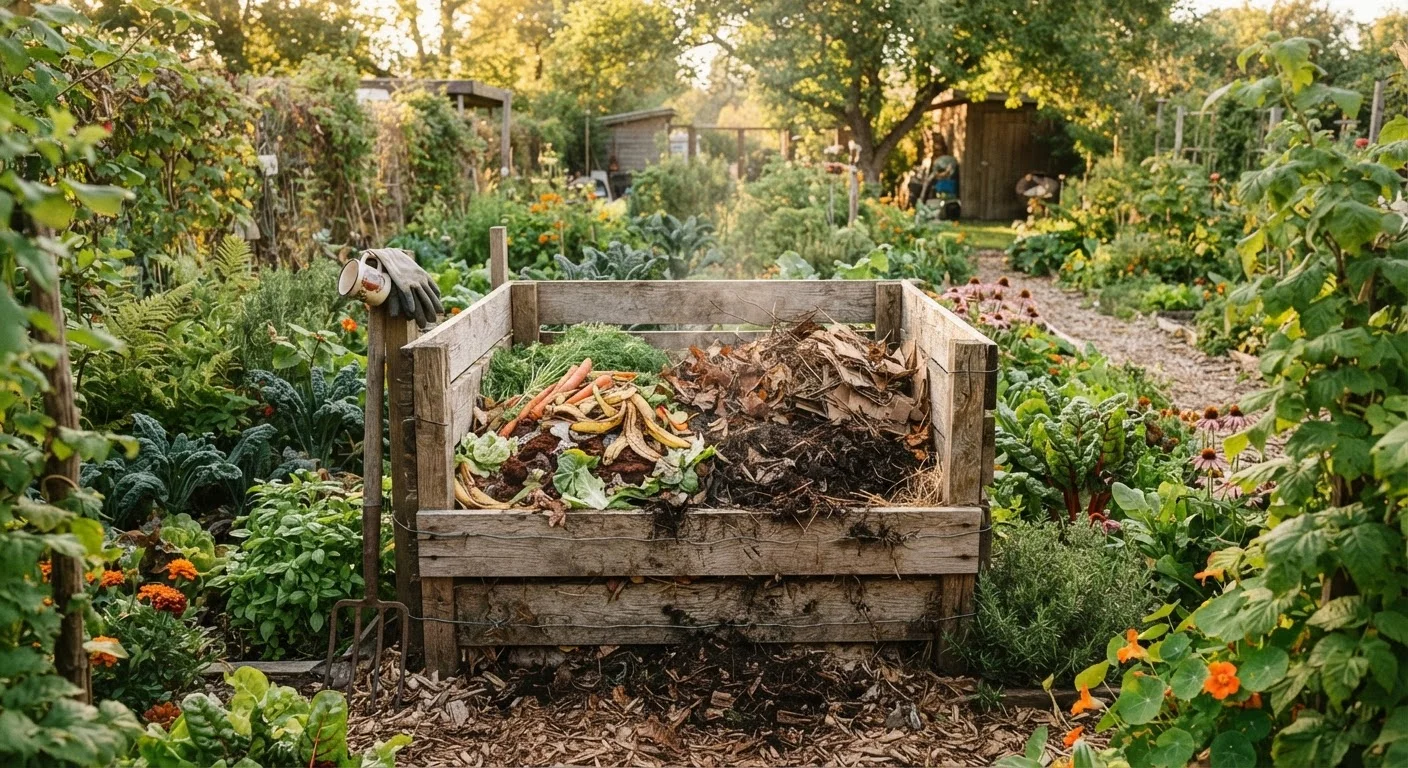
You don't need expensive equipment to start composting. The simplest method is an open pile in a back corner of your yard, but a bin keeps things tidy, retains heat, and deters pests. Common options include a DIY structure made from wooden pallets or wire mesh, a purchased plastic tumbler, or a simple stacked-block enclosure.
Choose a location that gets partial sun - enough warmth to activate decomposition, but not so much direct heat that the pile dries out quickly. A spot near a water source makes moisture management easier. Keep the bin accessible year-round; you're more likely to use it consistently if it's convenient.
Start your pile with a four-to-six-inch base layer of coarse browns - wood chips or broken-up cardboard - to allow airflow at the bottom. Then alternate layers of greens and browns as you accumulate material, keeping the pile roughly as wide as it is tall for best heat retention.
Managing Your Pile for Faster Results
Three variables determine how quickly your pile breaks down: oxygen, moisture, and the carbon-to-nitrogen ratio. Getting all three right is straightforward once you understand what to look for.
Moisture: Your pile should feel like a wrung-out sponge - damp but not dripping. In dry climates or summer heat, you may need to water it occasionally. In rainy regions, covering the pile helps prevent waterlogging.
Aeration: Turning the pile introduces oxygen, which keeps aerobic bacteria active and prevents sour smells. Use a pitchfork or compost aerator tool to mix the outer, cooler material into the center where temperatures are highest.
Particle size: Smaller pieces decompose faster. Chop or shred kitchen scraps before adding them, and run a mower over dry leaves before including them.
For a thorough seasonal maintenance rhythm - including when to add compost to lawn areas - our seasonal lawn care calendar maps out the best application windows throughout the year.
Keep a Small Bin on the Counter
A lidded one-gallon container on your kitchen counter makes it easy to collect scraps throughout the day without making frequent trips outside. Empty it every two to three days to prevent odors. This small habit is what separates composters who stick with it from those who quit after a week.
How to Tell When Compost Is Ready
Finished compost looks and smells nothing like what you put in. It should be dark brown or nearly black, have a loose and crumbly texture, and smell like rich forest soil - earthy, not sour or rotten. Individual food scraps should no longer be identifiable.
Temperature is another indicator. An active pile runs warm - often 130-160°F at its core during peak decomposition. When the pile stops heating up after turning, and the material looks uniform throughout, it's close to finished. Allow it to cure (rest without adding new material) for two to four weeks before using it.
If you find partially broken-down material, screen it through a half-inch wire mesh. The fine material is ready to use; return the chunky bits to the pile for another cycle.
Putting Finished Compost to Work
Finished compost is one of the most versatile materials in the garden. Work two to three inches into the top six to eight inches of soil before planting vegetables - it conditions both clay and sandy soils. For existing beds, spread a one-inch layer on the surface and let earthworms and rainfall incorporate it over time.
Compost also functions well as a top-dressing similar to mulch, helping retain moisture and suppress weeds around established plants. Applied to vegetable plots, it can form the foundation of productive growing seasons - something worth building into your vegetable garden planning from the start.
For lawn care, a thin quarter-inch layer of finished compost raked into the lawn surface after aeration feeds soil microbes and reduces thatch over time. Building composting into your fall yard preparation routine ensures you have a ready supply when your lawn most benefits from it.