

Key Takeaways
Why Overseeding Works - and When to Do It
A thinning lawn rarely needs to be torn out and replanted from scratch. Overseeding - spreading new grass seed directly over existing turf - thickens weak areas, fills bare spots, and crowds out opportunistic weeds, all without the cost or disruption of a full renovation.
Timing is the single biggest predictor of success. Cool-season grasses such as tall fescue, Kentucky bluegrass, and perennial ryegrass germinate best when soil temperatures hover between 50°F and 65°F - conditions that typically occur in early fall across much of the country. Warm-season varieties like bermudagrass and zoysia prefer soil temperatures above 65°F, making late spring the ideal window. Overseeding outside these windows means seeds sit in soil that is either too hot to germinate quickly or too cold to establish before frost. For a full breakdown of which grass type suits your region, see our guide to cool-season vs. warm-season grasses.
Before you begin, identify why patches formed in the first place. Compacted soil, heavy shade, poor drainage, grub damage, or fungal disease can all thin a lawn - and overseeding on top of an unresolved problem will produce the same bare spots next season.
What you will need
Step-by-Step Overseeding Process
Follow these steps in order. Skipping the preparation stages is the most common reason overseeding produces disappointing results.
Mow the existing lawn short
Set your mower to its lowest comfortable setting - generally around 1.5 to 2 inches - and mow the entire lawn, including thinning areas. Short turf lets sunlight reach the soil surface and reduces competition for new seedlings. Bag or rake up the clippings so they don't smother seeds.
Dethatch and rake bare areas
Use a stiff garden rake or a dethatching rake to remove the layer of dead organic matter (thatch) that accumulates between the soil and the green grass blades. In bare patches, scratch the soil surface firmly to create small grooves - this roughing-up dramatically improves seed-to-soil contact, which is essential for germination.
Aerate compacted soil
If your soil is compacted - water pools on the surface or a screwdriver struggles to penetrate six inches - core aeration should happen before you seed. A core aerator pulls small plugs of soil out of the ground, opening channels for roots, water, and seed. You can rent a walk-behind aerator from most equipment rental outlets. Leave the soil plugs on the surface; they will break down within a couple of weeks.
Select and spread the right seed
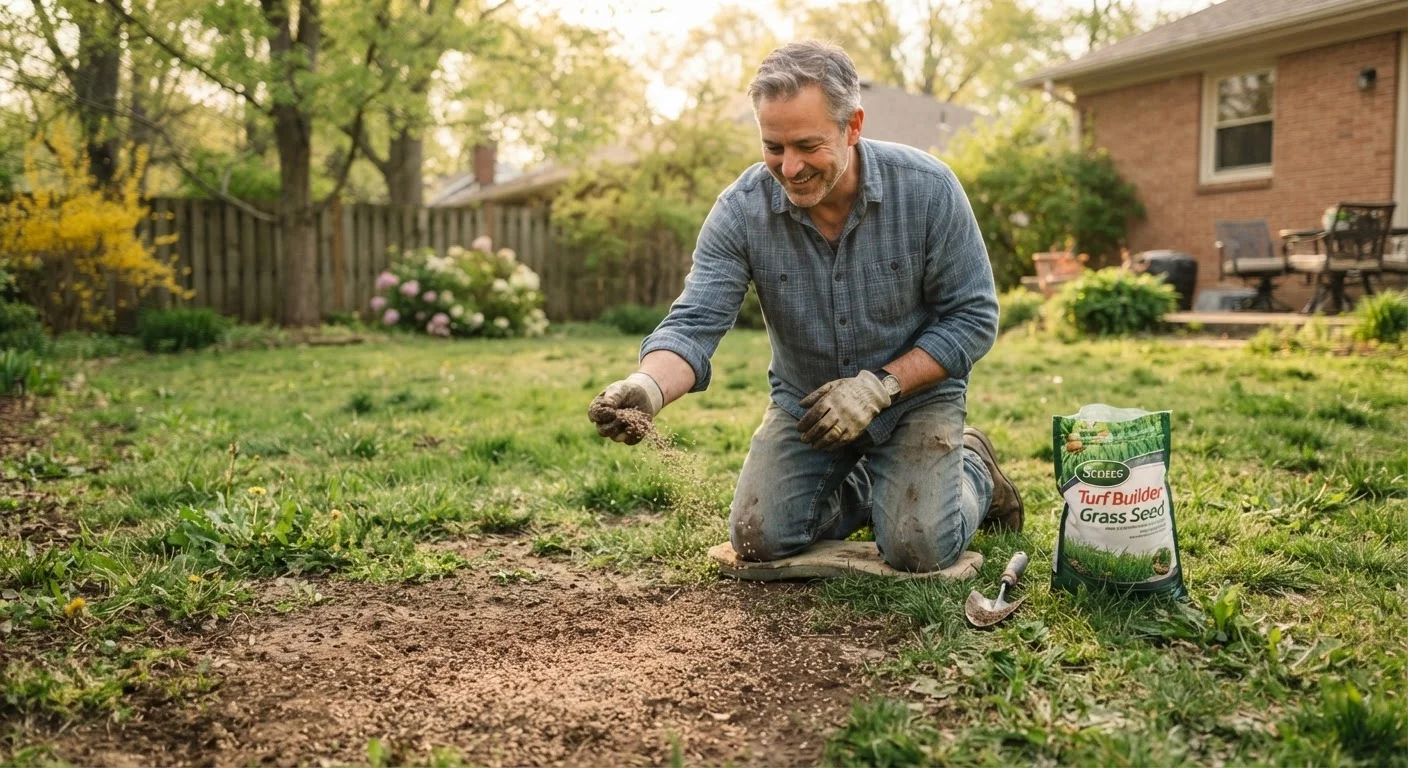
Choose a seed variety that matches your existing grass type as closely as possible. Mixing incompatible types produces a visually uneven lawn. Read the seed label for the recommended seeding rate; overseeding typically calls for roughly half the rate used when establishing a new lawn from scratch. Use a broadcast or drop spreader for even coverage over large areas, and apply by hand for small patches.
Apply a thin layer of topdressing
Lightly cover seeded areas with a thin layer - no more than a quarter-inch - of compost, topsoil, or a commercial lawn topdressing mix. This protects seeds from drying out, moderates soil temperature, and further anchors seeds against wind and heavy rain. Do not bury seeds deeply; they need light and warmth to germinate.
Water immediately and keep soil moist
Water the seeded area gently right away using a fine mist setting to avoid displacing seeds. Continue watering lightly two to three times daily, or whenever the top inch of soil begins to dry out, until seedlings are well established. Inconsistent moisture during germination is the most common cause of poor results.
Track Soil Temperature, Not Air Temperature
Air temperature is a poor proxy for seed germination conditions. An inexpensive soil thermometer (available at most garden centers) takes the guesswork out of timing. Check soil temperature at a depth of two inches in the morning for the most accurate reading before you commit to overseeding.
Aftercare and What to Expect
New grass seed is highly vulnerable in the first few weeks. Water lightly and frequently - ideally two to three times per day if rainfall is scarce - keeping the top quarter-inch of soil consistently moist until germination occurs. Once seedlings are visible, gradually reduce watering frequency but increase the depth of each session to encourage deep root development.
Hold off on mowing until the new grass reaches at least three inches in height, then cut no more than one-third of the blade in any single session. Avoid applying broadleaf herbicides for at least six to eight weeks after overseeding, as they can inhibit or kill young seedlings. A starter fertilizer applied at seeding time provides the phosphorus that young roots need; a follow-up application four to six weeks later supports continued establishment. For guidance on fertilizer types and their trade-offs, see our article on organic vs. synthetic fertilizers.
Most cool-season seeds will show visible growth within seven to fourteen days under good conditions. Full establishment - meaning the new turf can handle normal traffic and mowing - typically takes six to eight weeks. Overseeding fits naturally into a broader fall maintenance routine; our fall yard prep checklist covers how aeration, fertilizing, and leaf management work alongside it for a strong spring rebound.